The Internet has all the tutorials to guide you through building your first Chrome extension. In my case, I simply stuck to the documentation, browsing other people's experiences for solutions when something went unexpected. There are things I wish I had known at the beginning, but it's never too late to share.
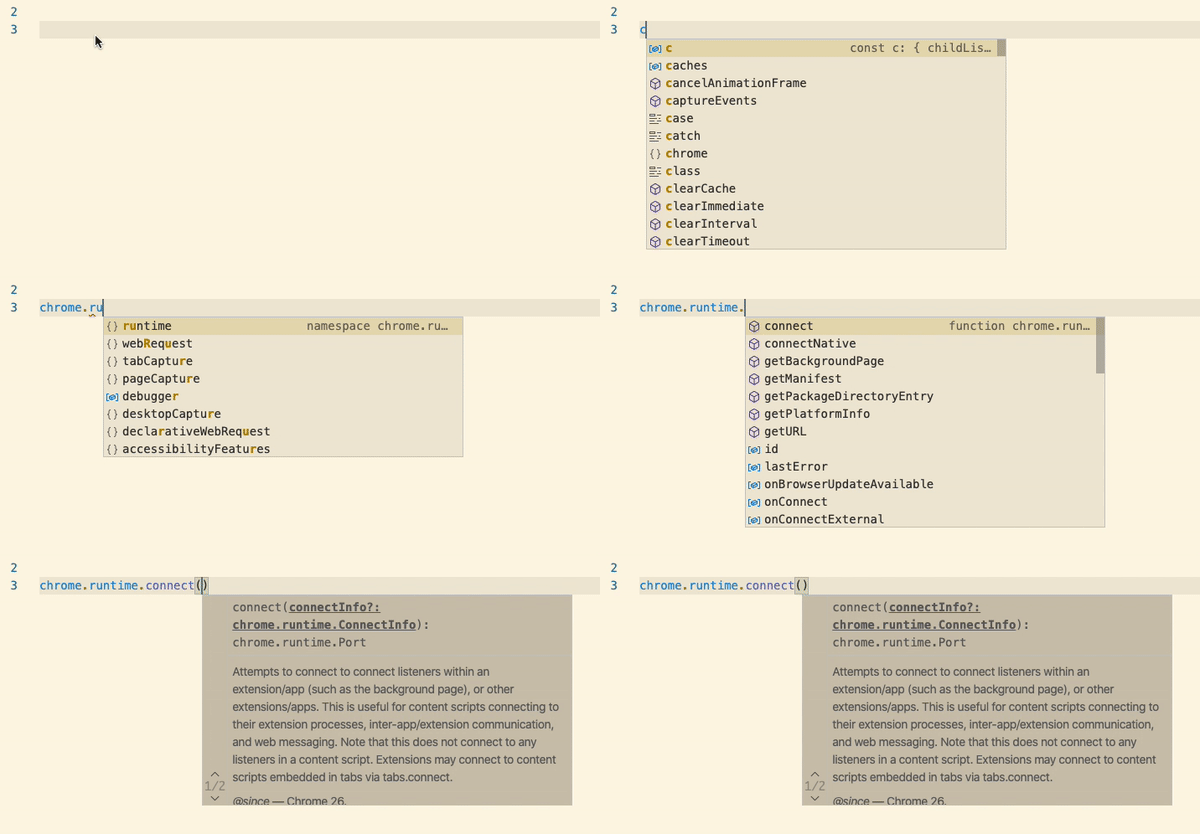
1. Setting up code completion in IDE
If your editor supports IntelliSense, hooray! The first step would be setting up type acquisition in the config file. For VSCode users, just add the following code to a jsconfig.json file in the workspace:
Installing @types/chrome as a dev-dependency will do the same.
Now you're equipped with Chrome API code completion.

2. Page action may not colorize your icon as expected
When using pageAction, the icon will automatically colorize when users visit the URLs matched in permission, indicating that the extension is now active. The trick is, permission states all the URLs you ask to access – including those that you perform requests to. The truth is, no one wants their users bumping into a URL and happen to find out that the extension icon is clickable, but is either not working or out of the use case.
In my case, I want the icon active only when the content script is running, and it only runs on one single site. If you use popup.html as a setting panel like I do, then there is no point to bother users with settings when they don't need them. It would be ideal if the page_action field in manifest.json allows developers to define which page to activate the extension, instead of activating the whole host permission set.
To deal with the situation I had to switch to browser_action, manually colorizing and graying out the icon by calling browserAction.setIcon. Otherwise, the icon would be lighted up the whole time.
Now that we switched to browser_action, notice that you also need to pass a tabid to tell the browser which tab you would like your icon to shine. To do that, we need to establish communication between content script and background.
Tell the background script to deal with the icon upon connection.
3. You can decide run time for each content script
By default, content scripts are scheduled to be injected when DOM is loaded but before window.onload event fires. That means you don't need to put everything inside a DOMContentLoaded event handler. The other timing options are document_start, which is before any other scripts get injected, and document_end, which is before any image assets have loaded.
4. Most tabs APIs do not require permission declaration
Knowing exactly what permission your extension needs is substantial since you would have to clarify why you need some of the permission upon package submission. The permission justification in Chrome Web Store says:
Remove any permission that is not needed to fulfill the single purpose of your extension. Requesting an unnecessary permission will result in this version being rejected.
Some common actions require the id of a tab, and the communication between a popup and a content script is among them. Luckily, for this kind of actions you can just call tabs.query without any permission declaration in the manifest file. However, if you request to read properties regarding tab contents such as URL and title, you would still need to ask for permission.
5. Inspect popup in a more comfortable way
The official way to inspect a popup is to right-click it and choose 'inspect popup window'. But inspecting the elements in a new window is not as convenient as it is in the native window devtool. Moreover, the devtool will disappear once the popup invalidates. To ease the pain, you could instead just visit the URL of the popup in the address bar:
extension://{extension ID}/{path to the popup HTML file}
...or simply type location.href in the popup devtool console and copy-paste the URL to the main browser window.
6. Avoid innerHTML, eval and inline Javascript
Yes, you already know about the risk of XSS (Cross Site Scripting) attack caused by the careless innerHTML and eval. The same rule applies to extension development. Vanilla DOM insertion could be a hassle especially when you need to create lots of elements in the extension. A component system may waive you from the physical labor if you write inside frameworks, but if you insist in vanilla, here are some suggestions by Mozilla that come to rescue.
Note that when submitting your extension to the Firefox add-on platform, it would check if your code contains innerHTML – any existence of it will trigger a warning even when there is no unsanitized third-party data.
On the other hand, Chrome will not execute any inline Javascript such as <button onclick="..."></button>. To clarify, Chrome 46+ does relax the policy: that is, if you encode your source code in base64 hash and declare script policy in manifest.json... but why would you?
7. Pitfalls in submitting the package to Firefox
Submitting the final package to Chrome Web Store is smooth, but doing it in Firefox's add-on platform is a whole other story.
Firefox states that it allows .crx .zip and .xpi package. But I encountered an 'unknown error' when submitting the same zip I uploaded to Chrome. Later it turned out I had to specifically change the extension name of the zip file to .xpi, which is basically a .zip with a different name. (Why say you love me when you don't, Mozilla?)
It then threw an error about an invalid manifest.json. After double-checking the Chrome incompatibility sheet without luck, I realized Firefox does not take a compressed directory – you have to compress the files, not the directory they are in. I admit it's dumb. I meant me.
8. Give me some extension examples!
Chrome has put up many sample extensions that exercise different APIs. Learning by example is always a confidence booster.
Happy coding, first-timers! In case you are interested, here is the first extension I published a while ago: Popcorn (Chrome and Firefox).